Nieuwjaarsbrief
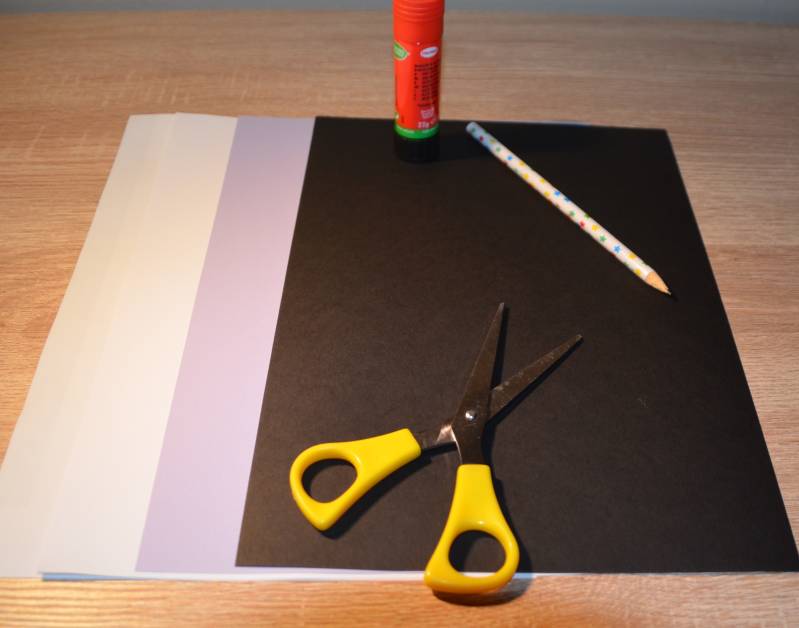
Nodig:
Zwart papier,
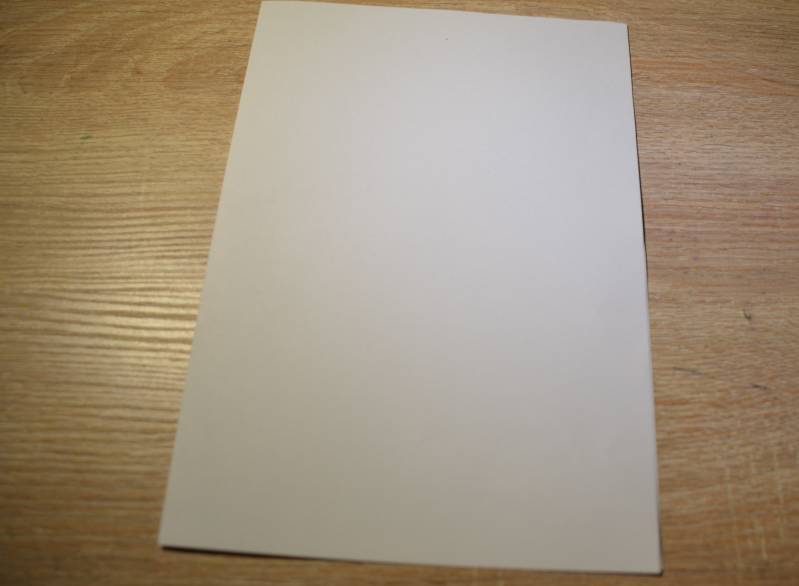
3 witte bladeren,
Een lichtblauw of lichtpaars gekleurd blad,
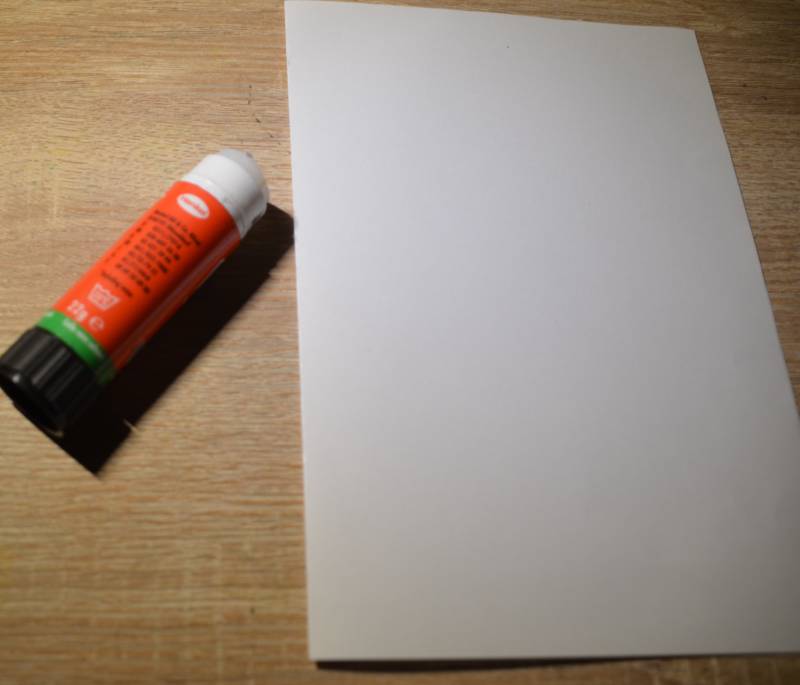
Lijm,
Schaar,
Potlood,
Kleurstiften
Stappenplan:
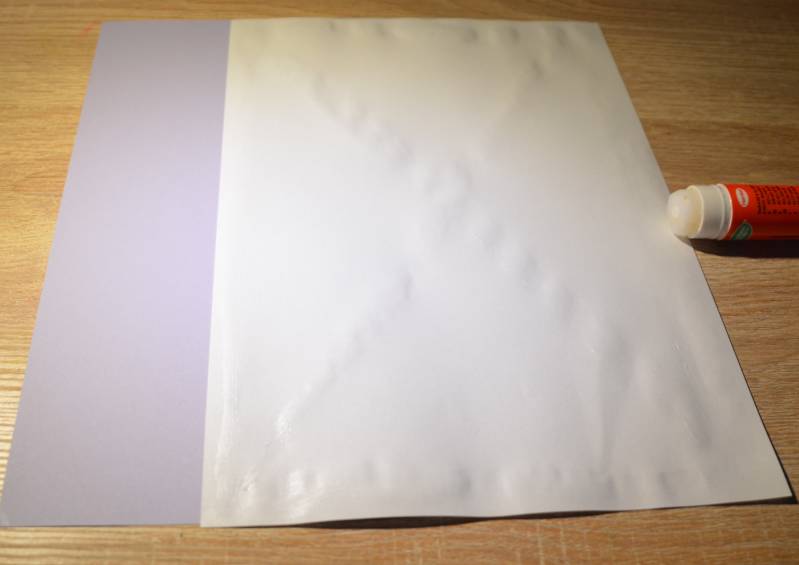
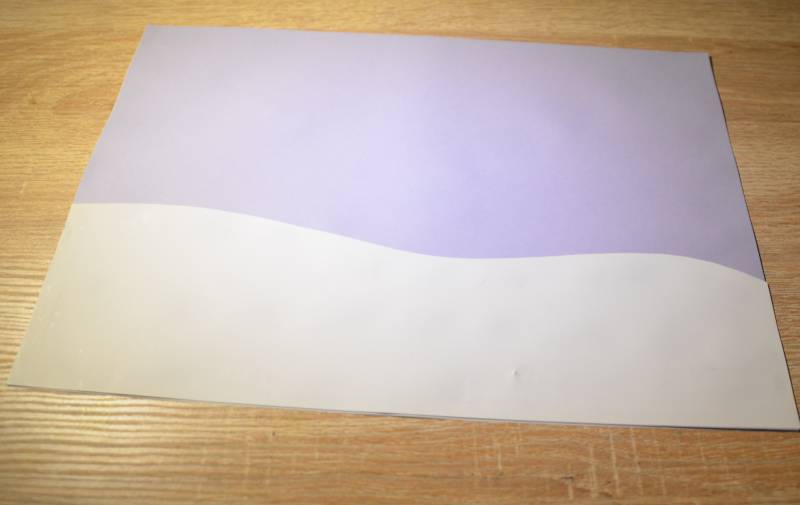
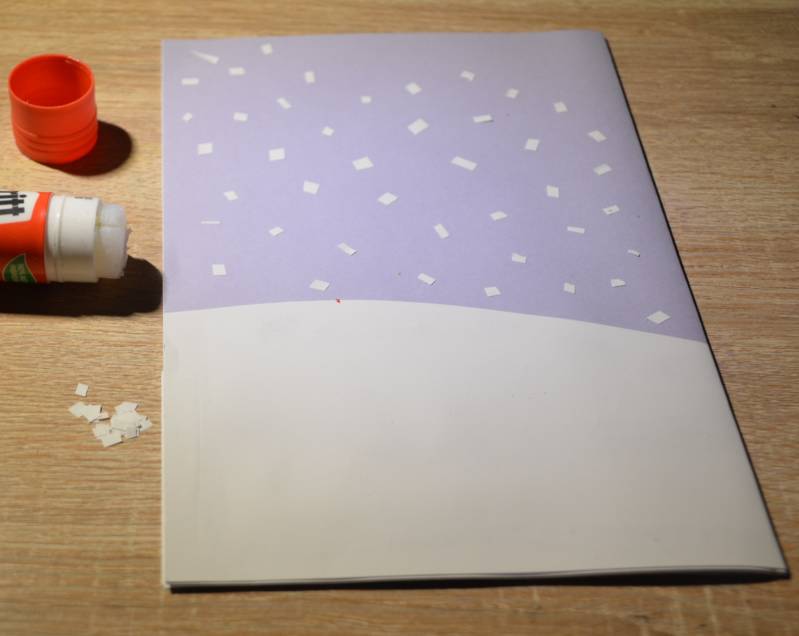
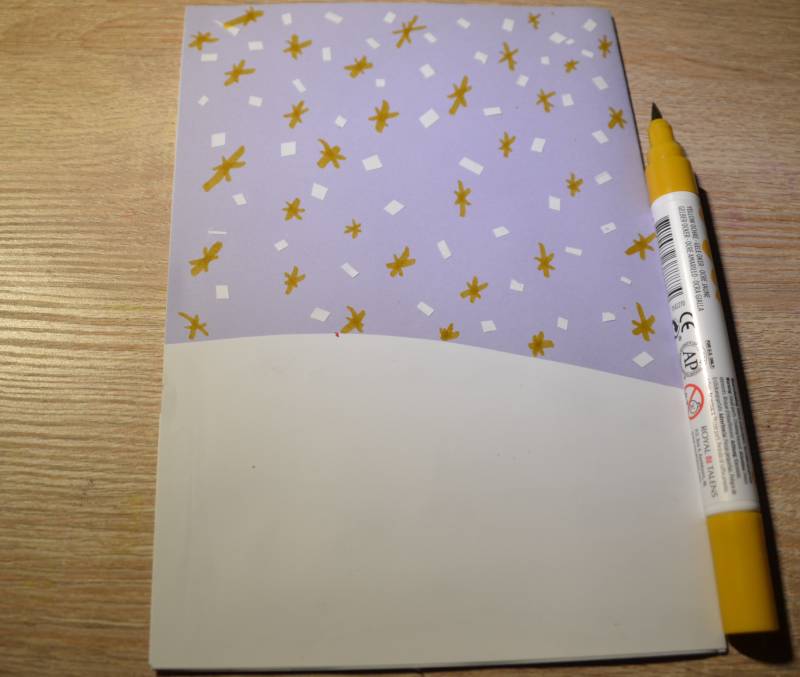
Stap1: Plak het eerste witte blad op het paarse of blauwe blad.
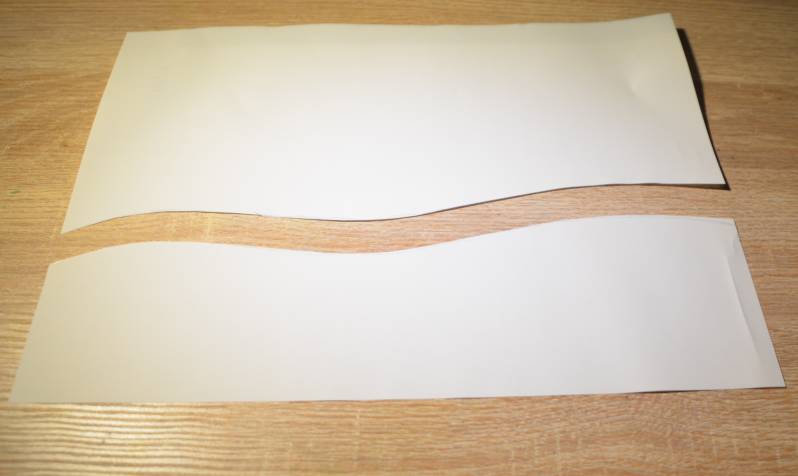
Stap2: Teken een golvende lijn op een ander wit blad
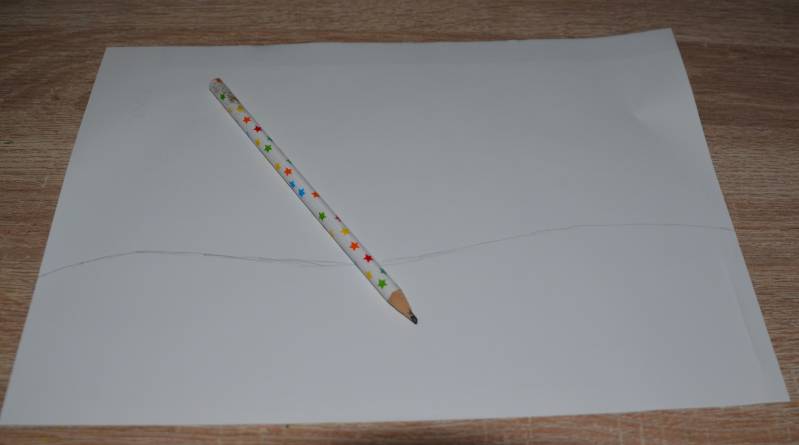
Stap3: Knip nu op de lijn.
Stap4: Deze golf plak je aan de onderkant van je blad. Zorg wel dat je dit doet aan de paars/blauwe kant.
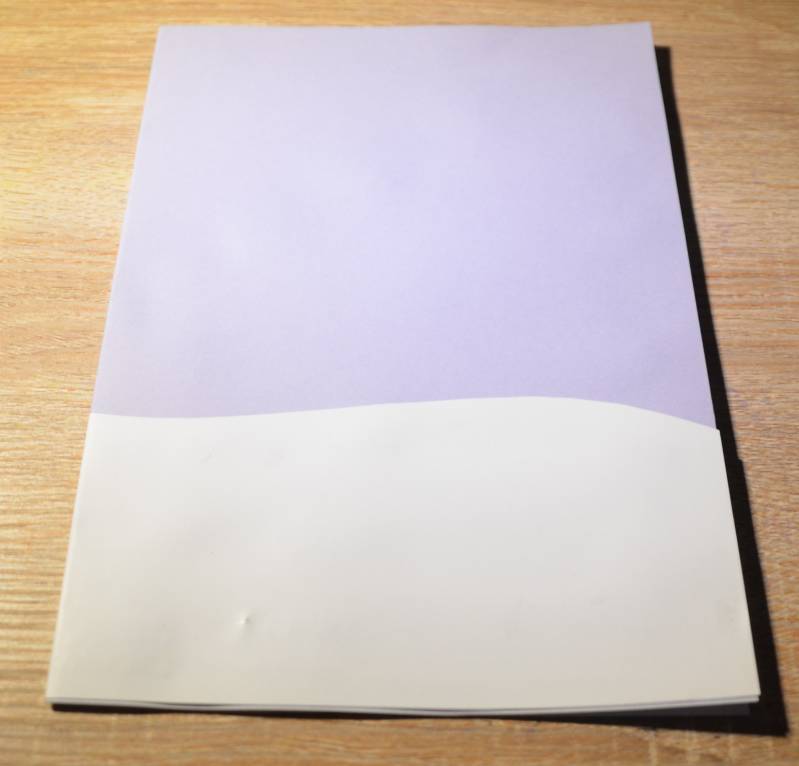
Stap5: Vouw je blad dubbel met de paarse kant naar buiten.
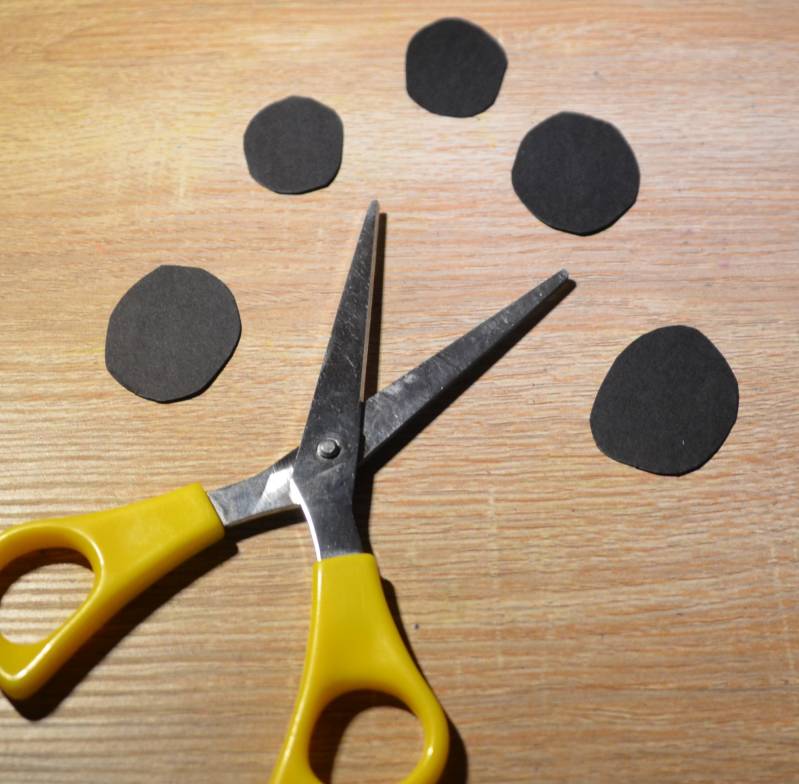
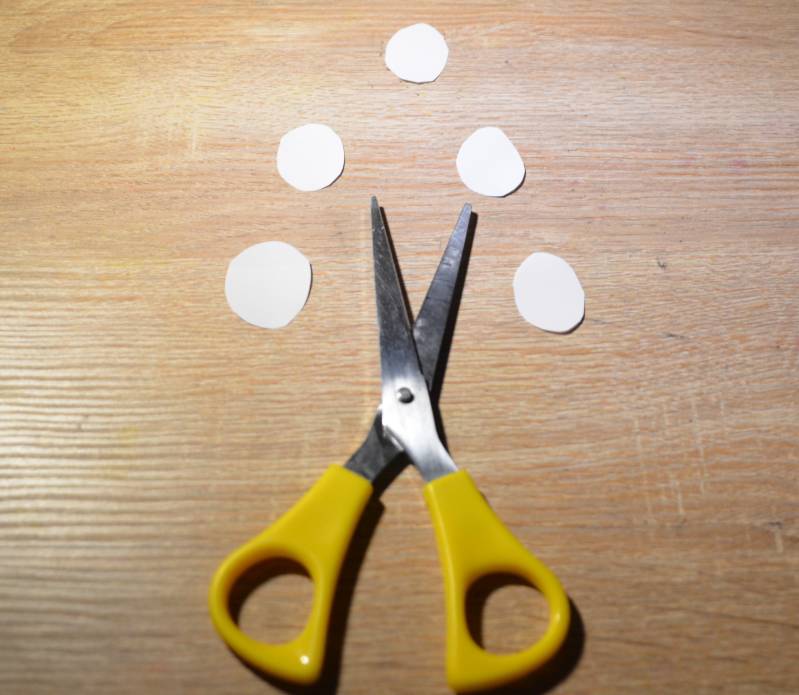
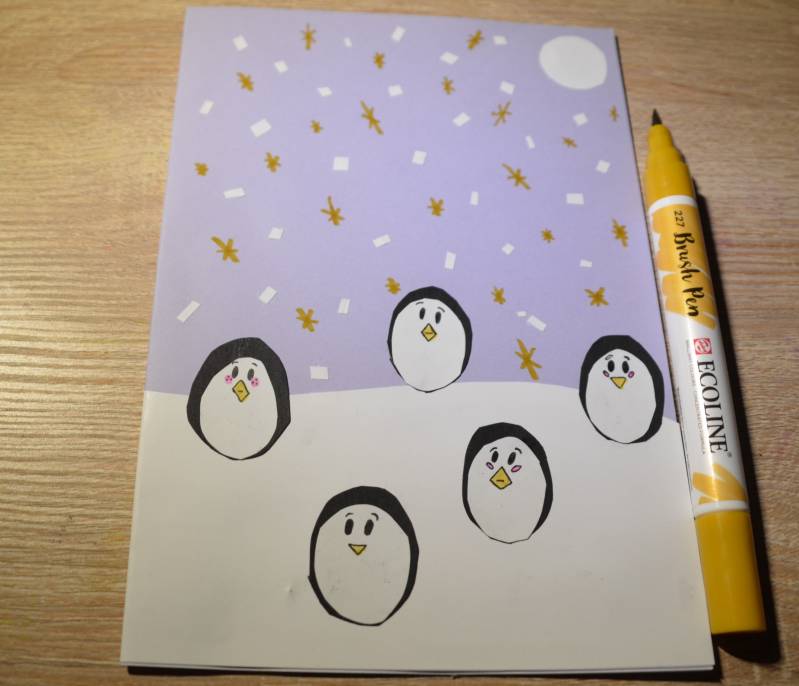
Stap6: Knip een paar ovaaltjes uit het zwarte papier.
Stap7: Nu doe je hetzelfde met het wit papier. Let wel op dat de witte ovaaltjes kleiner zijn dan de zwarte.
Stap8: Plak de witte ovaaltjes op de zwarte. Zorg dat zowel de witte ovaaltjes als de zwarte op 1 plek dezelfde kant raken.
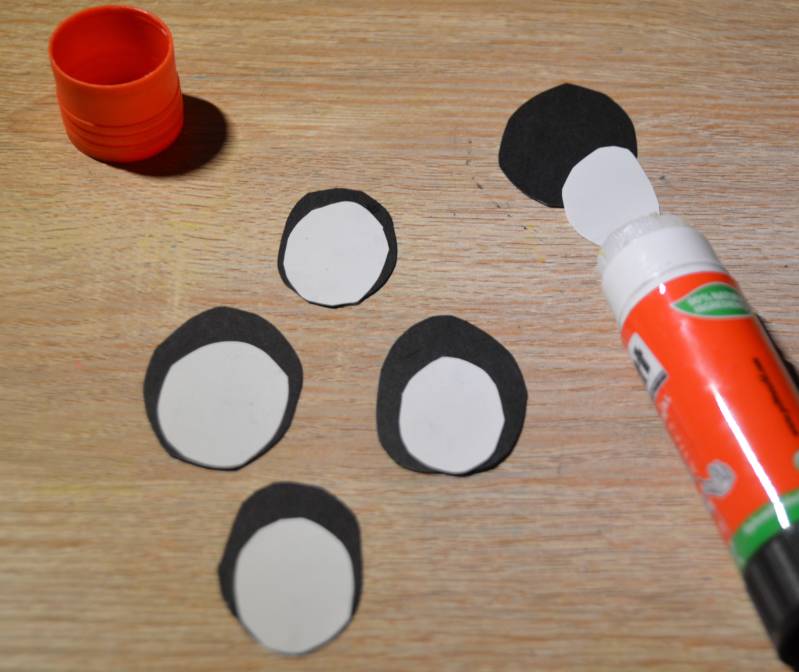
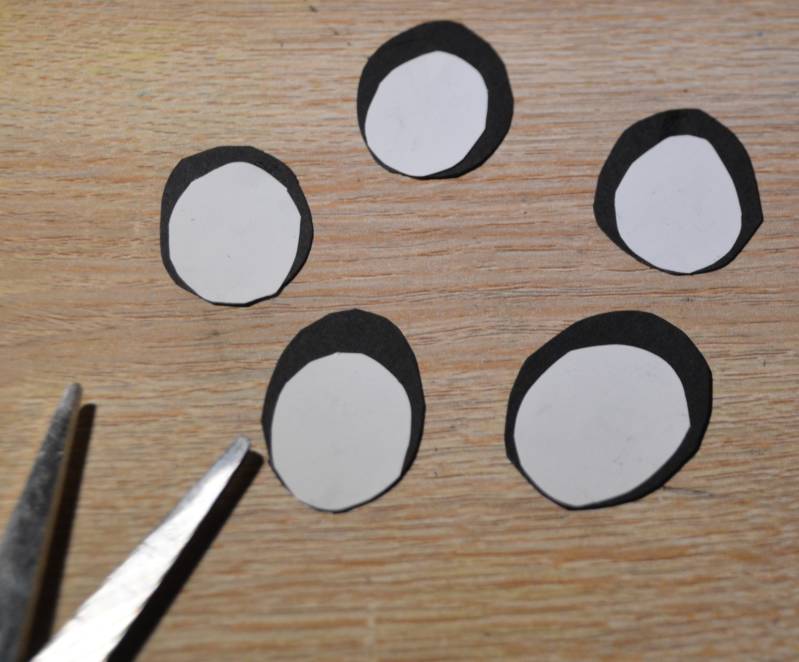
Stap9: Knip als het nodig is je ovaaltjes een beetje bij.
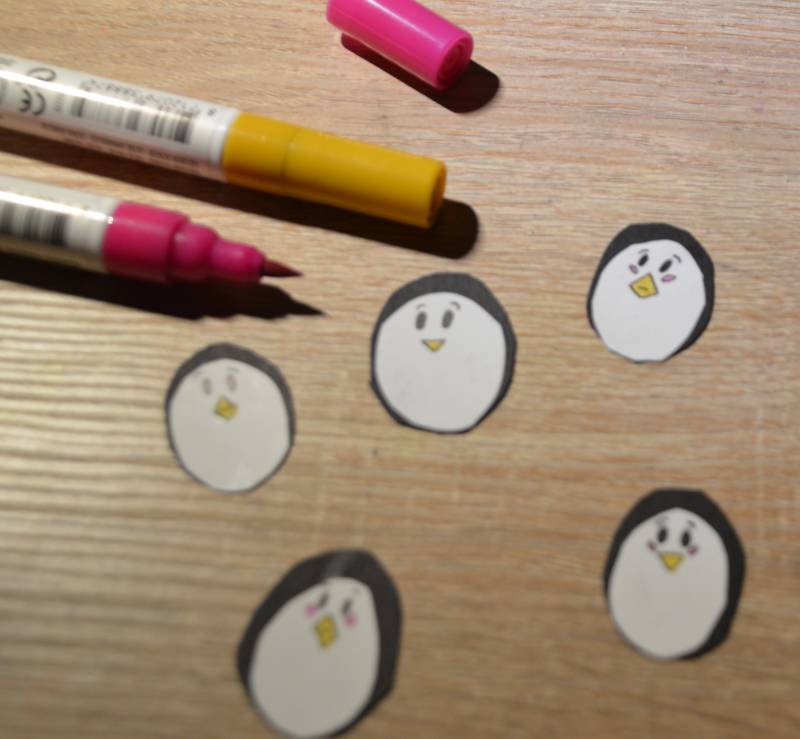
Stap10: In het witte ovaaltje teken je een gezichtje. Doe dit bij ze allemaal.
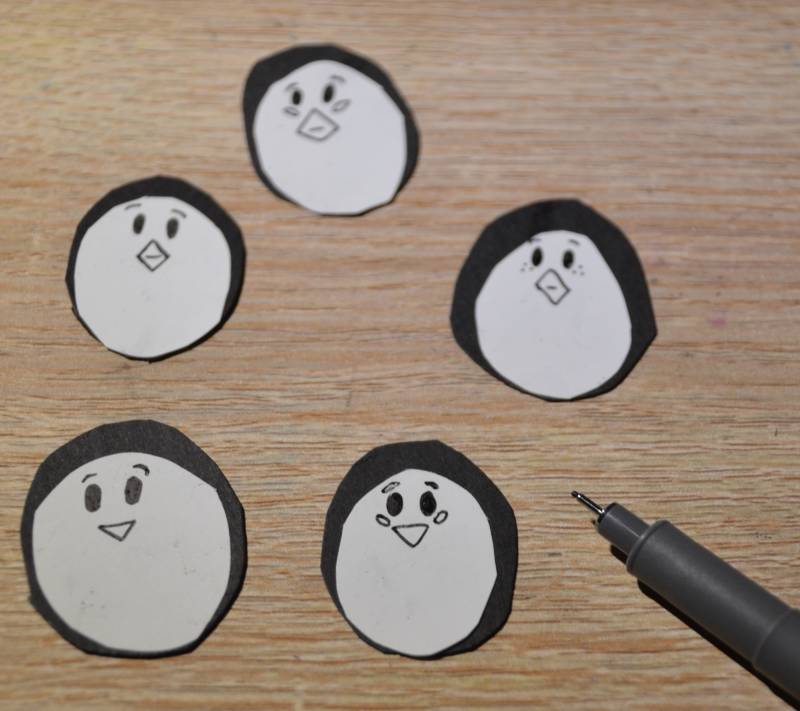
Stap11: Kleur de gezichtjes een beetje in.
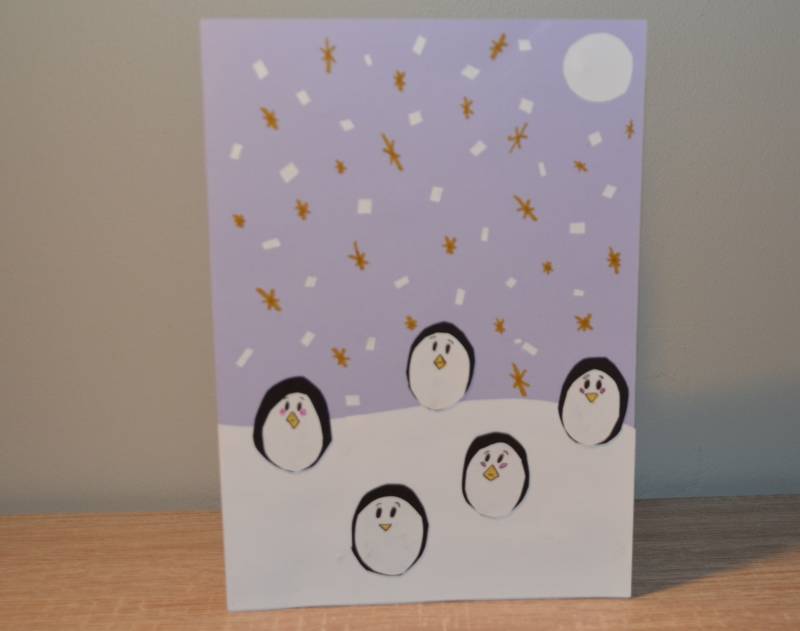
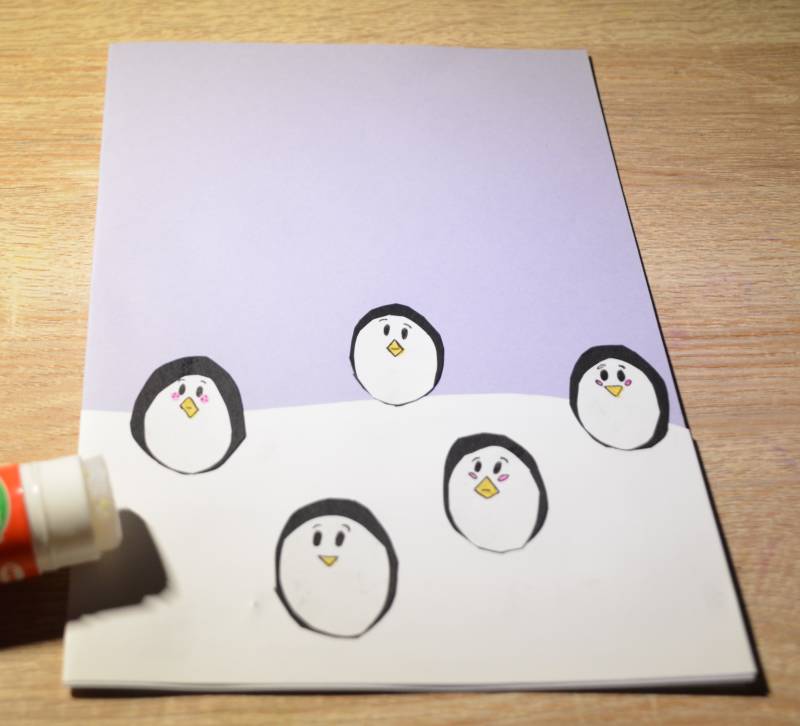
Stap12: Plak de pinguïns op de buitenkant van je brief.
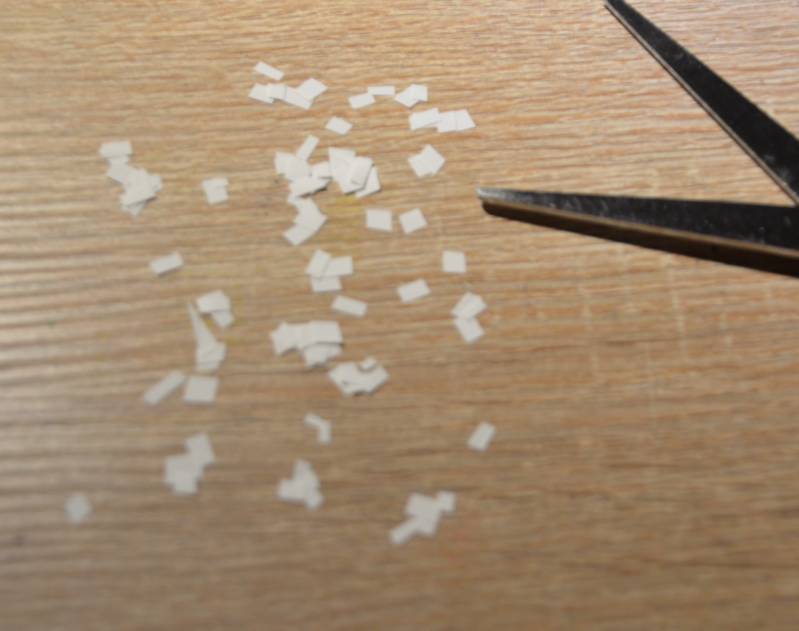
Stap13: Knip een aantal kleine vlakjes uit het witte papier.
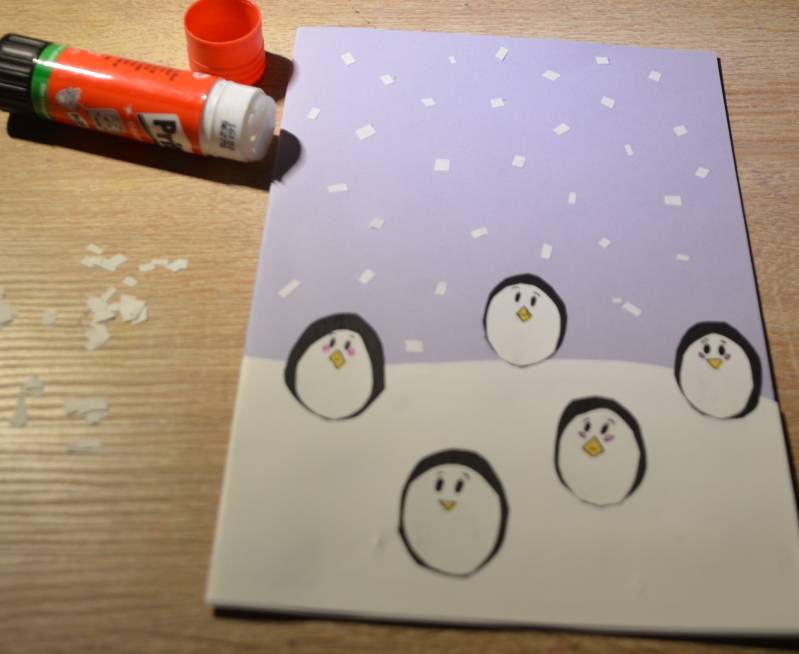
Stap14: Plak deze vlakjes op de voor en achterkant van je brief.
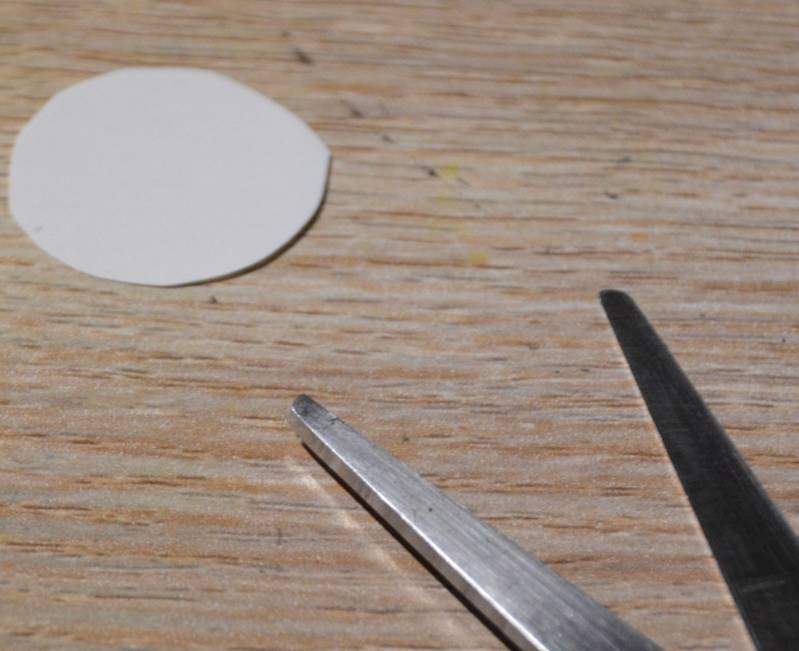
Stap15: Uit het witte papier knip je een rondje.
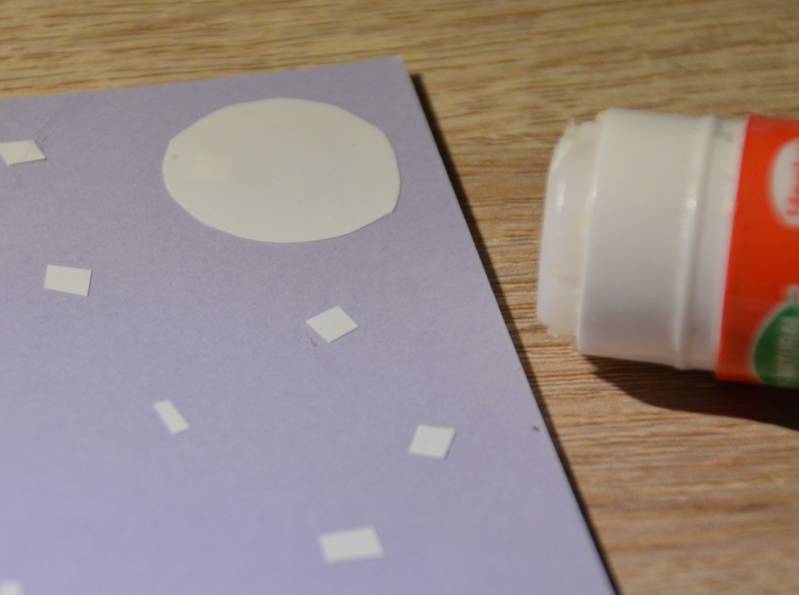
Stap16: De cirkel plak je in de rechter bovenhoek aan de voorkant van je brief.
Stap17: Tussen de vlakjes teken je sterren.
Stap18: Neem een nieuw blad en vouw het dubbel.
Stap19: Doe wat lijm op de gevouwen zijkant.
Stap20: Plak je dubbelgevouwen blad in de binnenkant van je brief.
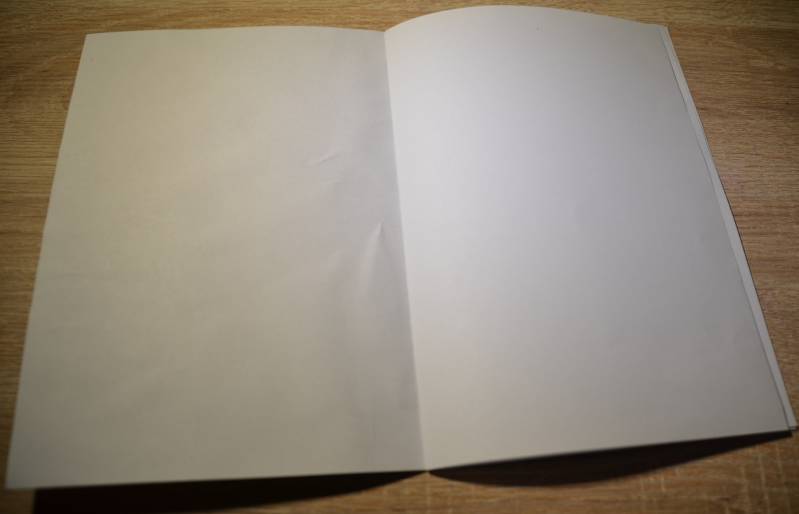
Stap21: In de binnenkant van je dubbelgevouwen brief schrijf je je tekst. Nu is je brief klaar.
Gelukkig Nieuwjaar!!!

Maak jouw eigen website met JouwWeb