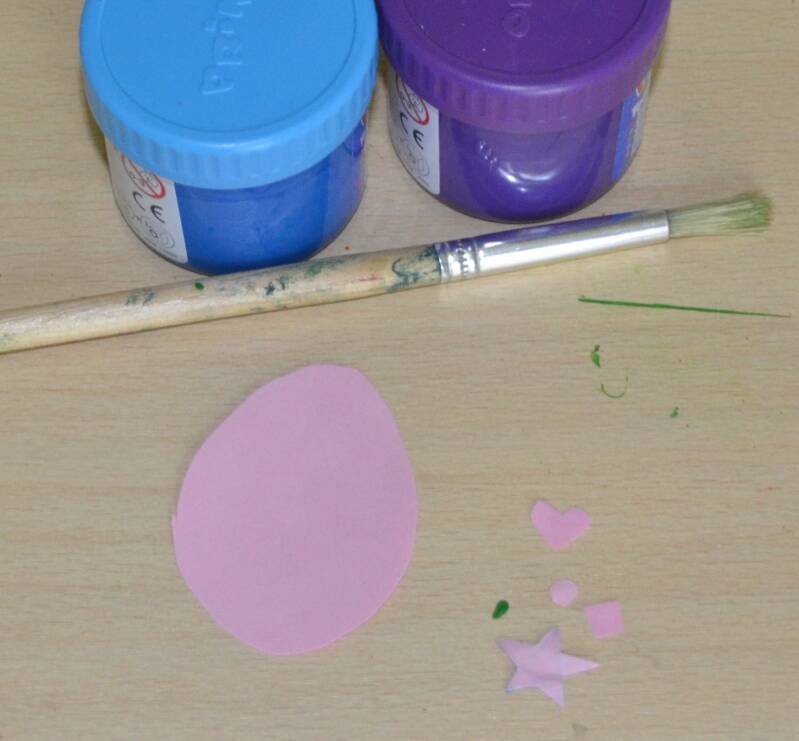
Paasei versieren
![](https://primary.jwwb.nl/public/n/s/o/temp-ivegakaqllrumiqmfbvp/gvyb6x/DSC_0716.jpg?enable-io=true&enable=upscale&crop=1678%2C1761%2Cx1%2Cy0%2Csafe&width=282&height=296)
Nodig:
Twee kleuren verf,
Penseel,
Uitgeblazen ei (ik doe het voor met een ei-vormig papiertje),
Stikkers of papiertjes in een leuke vorm
![](https://primary.jwwb.nl/public/n/s/o/temp-ivegakaqllrumiqmfbvp/mdgwvw/DSC_0708.jpg?enable-io=true&enable=upscale&crop=1697%2C1573%2Cx0%2Cy0%2Csafe&width=191&height=177)
Stappenplan:
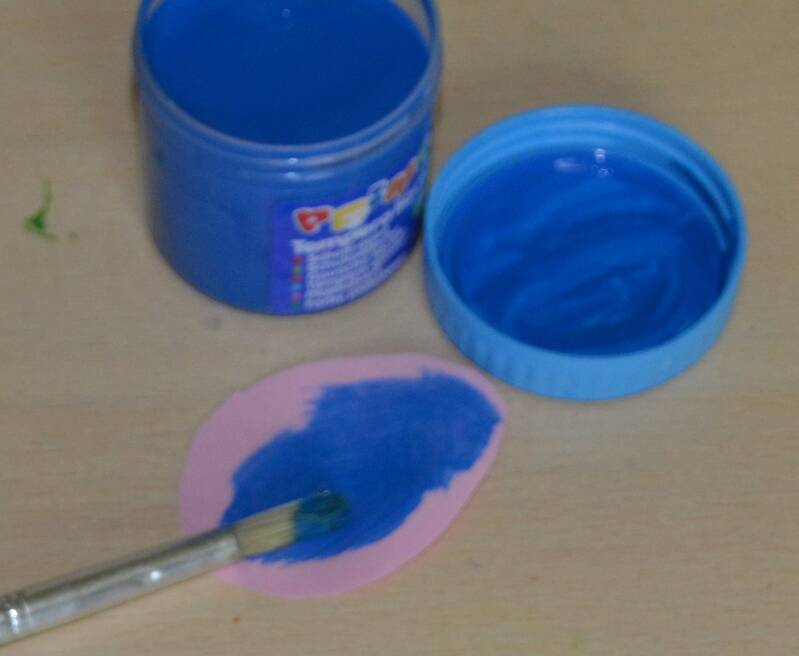
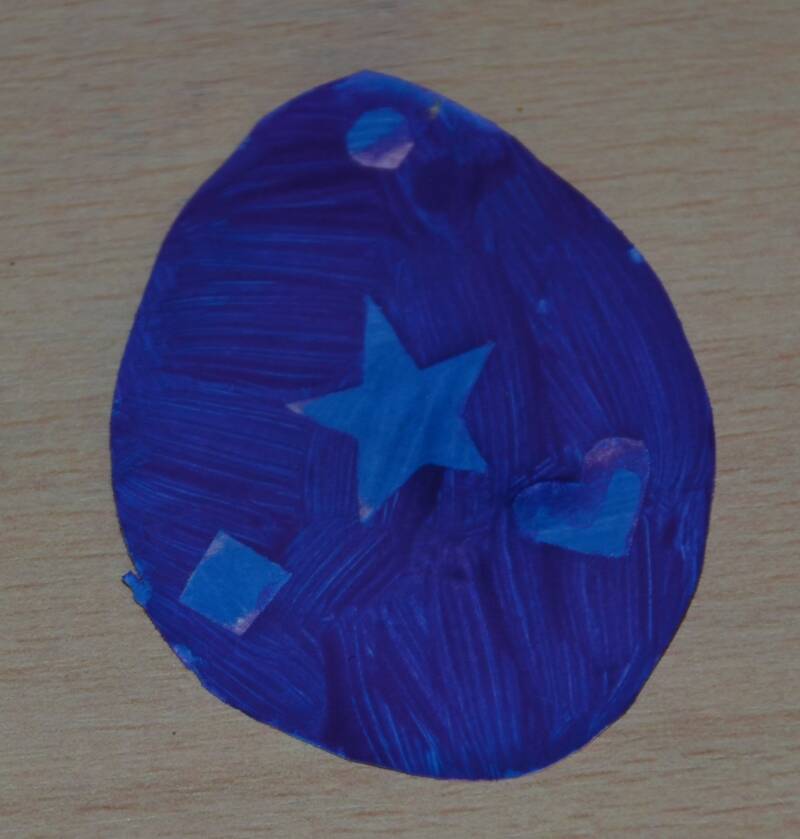
Stap1: Begin met je ei volledig te schilderen met je 1e kleur.
![](https://primary.jwwb.nl/public/n/s/o/temp-ivegakaqllrumiqmfbvp/7ay4qe/DSC_0709.jpg?enable-io=true&enable=upscale&crop=1460%2C1200%2Cx1%2Cy0%2Csafe&width=191&height=157)
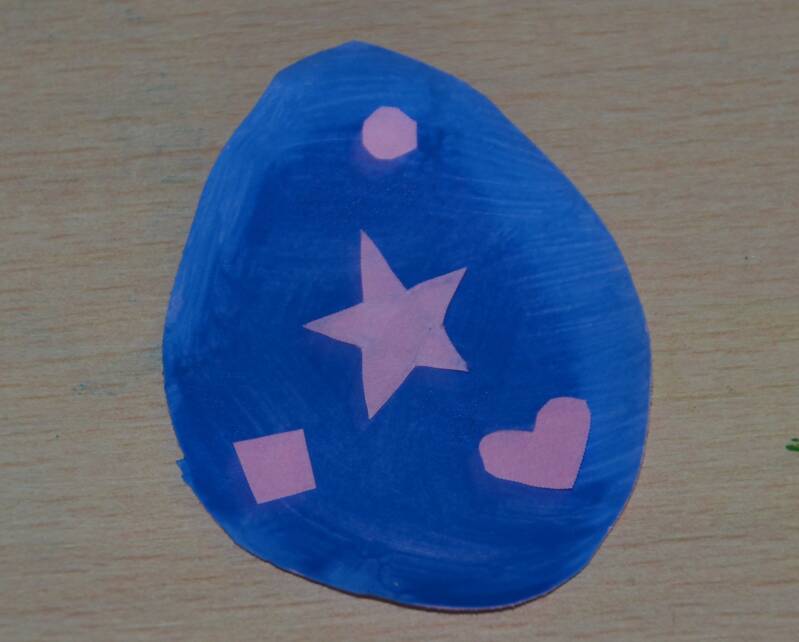
Stap2: Als je verf droog is plak je de stikkers er op of leg je de papiertjes er op.
![](https://primary.jwwb.nl/public/n/s/o/temp-ivegakaqllrumiqmfbvp/h25yfn/DSC_0712.jpg?enable-io=true&enable=upscale&crop=1919%2C1538%2Cx0%2Cy2%2Csafe&width=191&height=153)
Stap3: Nu schilder je opnieuw heel het ei. Schilder ook over de stikkers of papiertjes.
![](https://primary.jwwb.nl/public/n/s/o/temp-ivegakaqllrumiqmfbvp/6ov9gw/DSC_0713.jpg?enable-io=true&enable=upscale&crop=1307%2C1183%2Cx1%2Cy0%2Csafe&width=190&height=172)
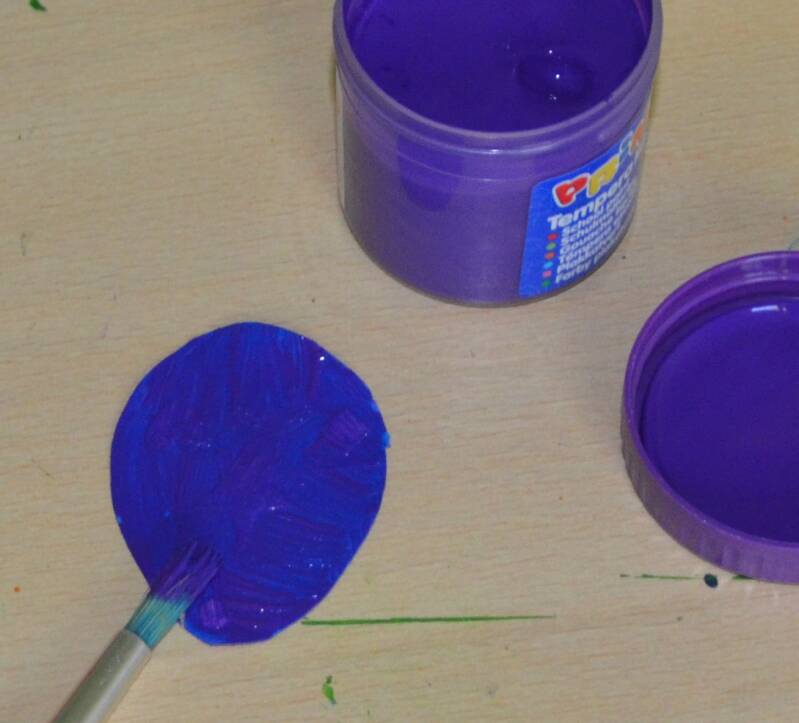
Stap4: Als je verf droog is haal je de stikkers of papiertjes er af en dan ben je klaar!
![](https://primary.jwwb.nl/public/n/s/o/temp-ivegakaqllrumiqmfbvp/x9i7rv/DSC_0716-1.jpg?enable-io=true&enable=upscale&crop=1679%2C1759%2Cx0%2Cy1%2Csafe&width=190&height=199)
Maak jouw eigen website met JouwWeb